CHOCOLATE MOLD TRAY
The Ultimate Guide to Chocolate Mold Trays (Empty): Shapes, Uses, and Tips for Perfect Homemade Chocolates
When it comes to creating perfectly shaped, glossy, and professional-looking chocolates at home or for your business, chocolate mold trays are a must-have. These simple yet powerful tools can completely transform your chocolate-making experience, helping you achieve consistent results with ease.
In this guide, we’ll explore everything you need to know about empty chocolate mold trays — from what they are, how to use them, their different types and materials, to expert tips for maintaining and storing them.
What Is a Chocolate Mold Tray?
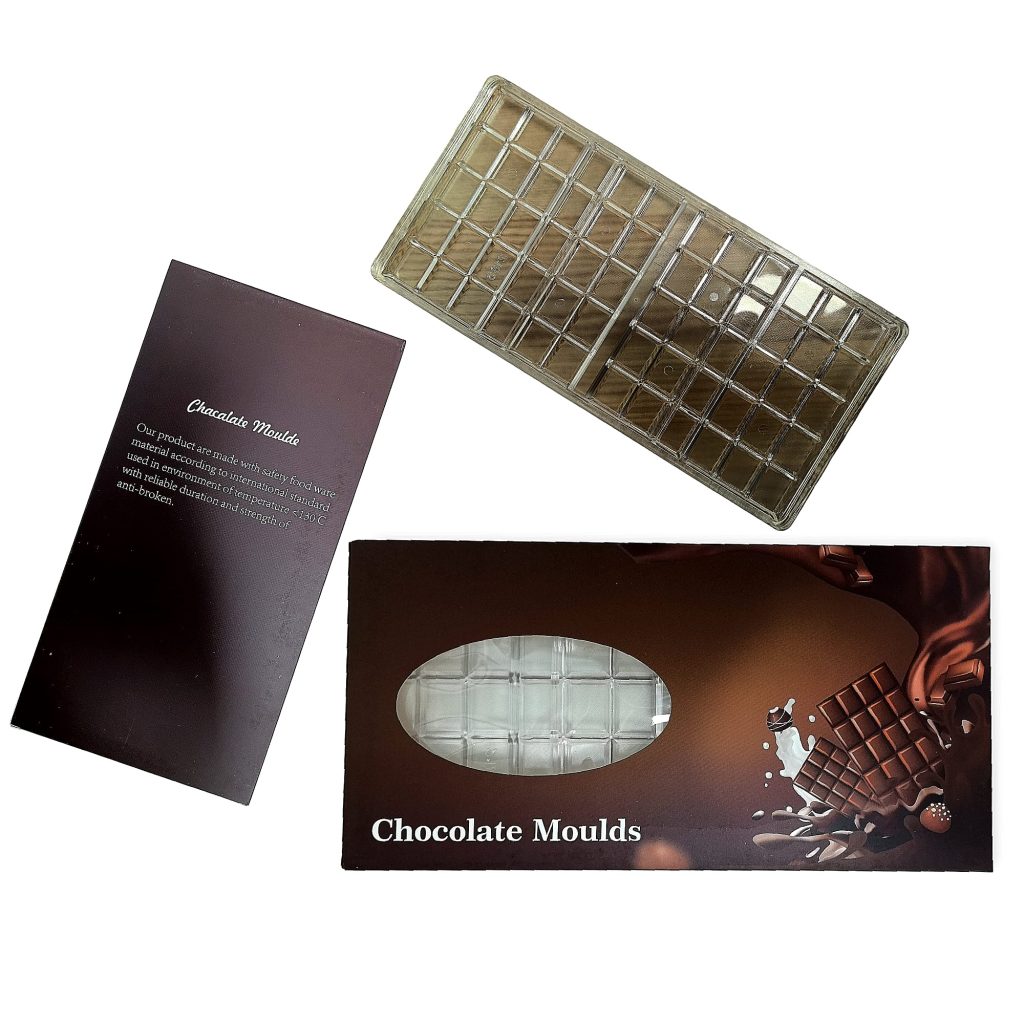
A chocolate mould tray (also called a chocolate mold or chocolate forming tray) is a reusable tray with cavities of specific shapes designed to hold melted chocolate until it sets. Once cooled, the chocolates take on the exact shape and details of the mould — whether it’s a simple square, a heart, or a festive design.
Empty mould trays come in a wide variety of materials, shapes, and sizes, making them suitable for hobbyists, home bakers, and professional chocolatiers alike.
Types of Chocolate Mold Trays
Choosing the right mould tray can make a huge difference in your chocolate’s appearance and texture. Here are the most common types:
1. Polycarbonate Chocolate Molds
These are the top choice of professional chocolatiers.
- Pros: Durable, transparent (easy to monitor chocolate flow), produces glossy finishes.
- Cons: More expensive than silicone or plastic.
- Best For: Commercial chocolate production, pralines, bonbons, and filled chocolates.
2. Silicone Chocolate Molds
Flexible and easy to use, silicone moulds are ideal for beginners.
- Pros: Easy to release chocolates, non-stick, versatile for other recipes (like gummies or ice cubes).
- Cons: Less shine on finished chocolates.
- Best For: Home use, decorative chocolate shapes, and creative desserts.
3. Plastic Chocolate Mold Trays
Lightweight and budget-friendly, perfect for casual use.
- Pros: Affordable, widely available, great for one-time or occasional projects.
- Cons: Can warp with heat, not as durable.
- Best For: DIY projects, festive treats, kids’ chocolate-making.
4. Metal Chocolate Molds
Less common today, but still used for vintage-style chocolates.
- Pros: Excellent heat conductivity, traditional charm.
- Cons: Can be tricky to demould; requires careful handling.
- Best For: Artisan chocolate makers and collectors.
Popular Shapes of Empty Chocolate Mold Trays
Empty mould trays come in endless designs, but here are some of the most popular and high-demand styles:
- Classic Bars & Squares – Great for homemade chocolate bars or gift boxes.
- Hearts & Stars – Perfect for Valentine’s Day or special celebrations.
- Nuts & Pralines – Deep cavities for filled or layered chocolates.
- Mini Bites & Buttons – Small treats for snacking or baking mix-ins.
- Custom Logo or Letter Designs – Used by brands for unique chocolate branding.
Whether you’re making a single-origin chocolate bar or cute themed treats, choosing the right shape can add an extra layer of personality to your creations.
How to Use a Chocolate Mold Tray (Step-by-Step)
Using a chocolate mould tray might seem simple, but a few techniques can take your chocolates from good to gourmet.
Step 1: Prepare Your Mold
- Clean and dry the mould thoroughly — even tiny water drops can ruin the chocolate’s texture.
- Polish polycarbonate moulds with a soft cloth for a shiny finish.
Step 2: Melt and Temper the Chocolate
Tempering ensures your chocolate has a smooth texture and glossy snap.
You can temper chocolate by:
- Seeding method (adding unmelted chocolate to melted chocolate to cool it gradually), or
- Tabling method (spreading on a marble slab).
Step 3: Pour the Chocolate
Pour the tempered chocolate into the empty mould tray cavities. Tap the mould gently to remove air bubbles.
Step 4: Cool and Set
Allow the mould to rest at room temperature or in the refrigerator (for a short time). Once set, the chocolate should easily release from the mould.
Step 5: Unmold Carefully
Turn the mold upside down and gently tap or flex it to release the chocolates. Handle them with gloves to avoid fingerprints.
Cleaning and Maintenance Tips for Your Chocolate Mold Tray
Proper care ensures your mould lasts for years and maintains its shine.
- Avoid hot water – Use lukewarm water and mild soap.
- Never scrub – Use soft sponges or microfiber cloths to prevent scratches.
- Dry completely – Air-dry or use lint-free cloths before storing.
- Store flat – Keep trays away from direct sunlight or high heat to prevent warping.
Pro Tip: Avoid washing polycarbonate moulds too often — simply wiping them clean is often enough.
Why You Should Invest in a Chocolate Mold Tray
A good chocolate mold tray isn’t just a kitchen tool — it’s an investment in consistency, creativity, and professionalism. Here’s why:
- Consistent Results – Each chocolate comes out identical in shape and size.
- Professional Look – Smooth, glossy finishes make your chocolates look store-bought.
- Creative Freedom – Experiment with fillings, layers, and decorations.
- Reusable and Eco-Friendly – No more disposable plastic or paper candy molds.
Whether you’re starting a home-based chocolate business or gifting your handmade sweets, the right mould makes all the difference.
Final Thoughts
An empty chocolate mold tray may seem like a small investment, but it’s a game-changer for anyone who loves working with chocolate. From creative hobbyists to professional chocolatiers, the right mold helps you bring imagination to life — one perfect chocolate at a time.
So, next time you melt that velvety goodness, pour it into a quality chocolate mould tray and watch your homemade treats transform into glossy, professional confections.